Just My Style: Do You DIY? Pet Couturier, Anthony Rubio, Shows You How to Make a Dog Coat!
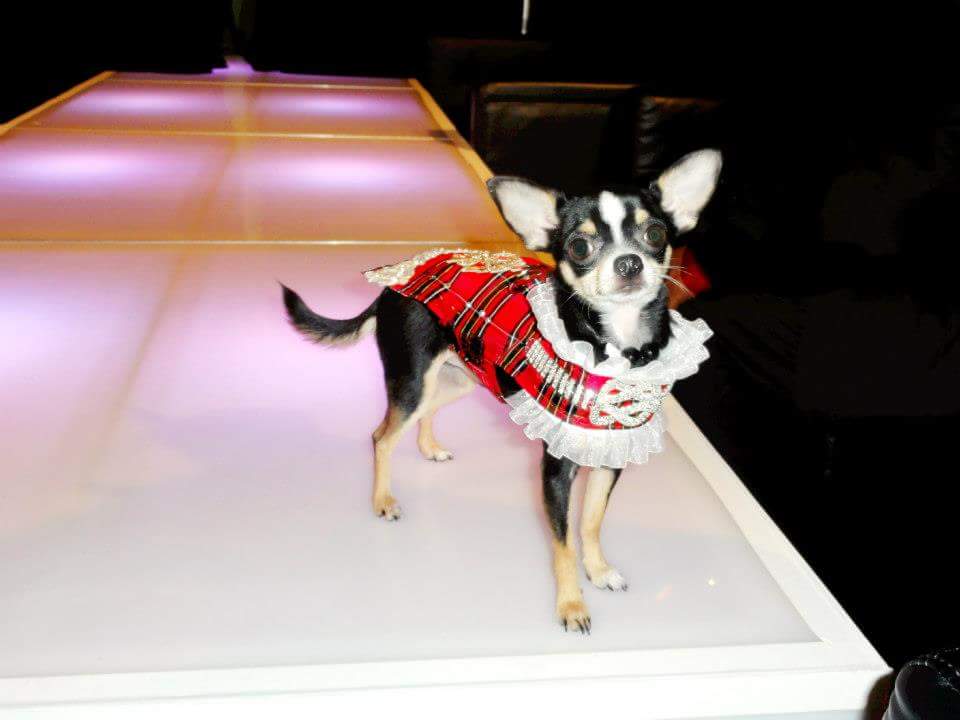
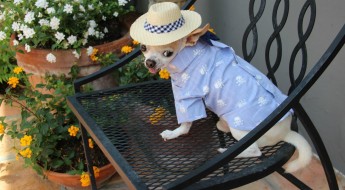
Pretty in plaid; Bogie modeling an Anthony Rubio design on the runway
When was the last time a world-famous pet designer showed you how to create a garment? In Week 4 of our five week series, Just My Style, pet couturier to the stars, Anthony Rubio, is bringing DIY to your door. And, he’s sourced a great pattern and tutorial, guiding us with his seasoned wisdom. A big thank you to Erika and Sebastian of SewDoggyStyle.com for their great DIY pattern! Are you ready?
Then, grab your favorite beverage, get comfortable and let’s get started crafting!
Just My Style: Week 4 – DIY
by Anthony Rubio
How To Make a Basic Dog Coat
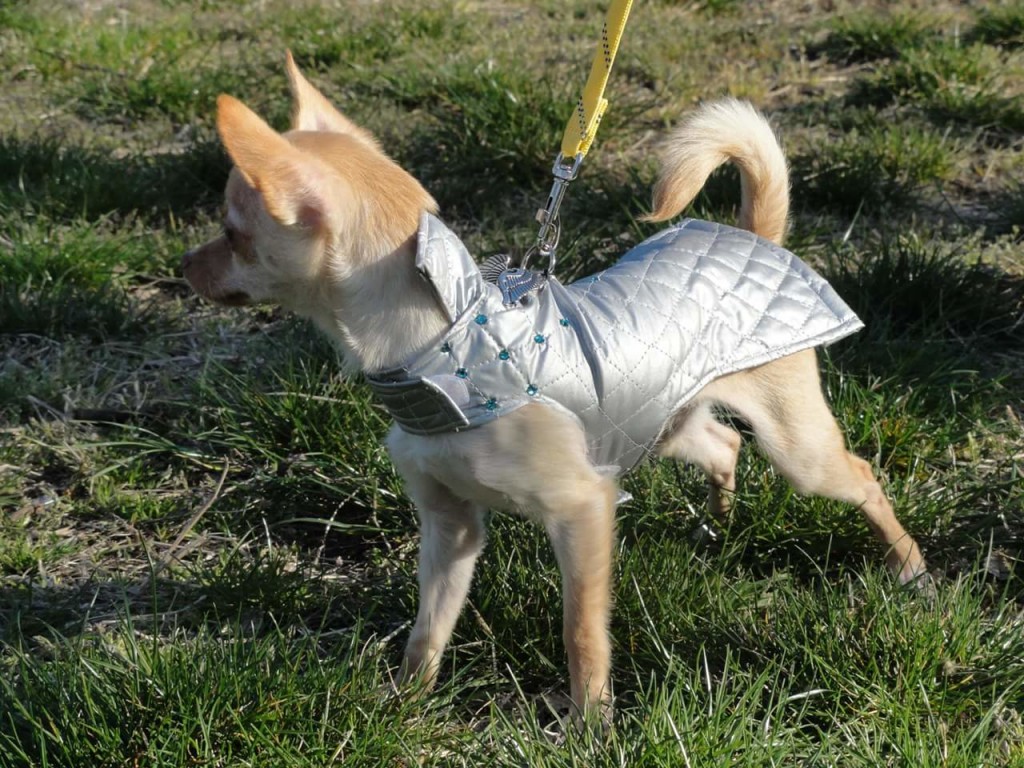
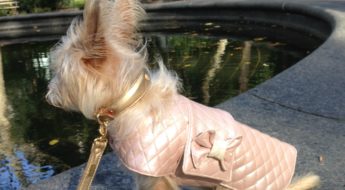
A winter coat design from a Rubio collection.
If you’re handy with a pair of scissors, needle and thread and would like to create something special for your four-legged companion, here is a craft to try. It is so simple and, more important, not intimidating. It would also make a great first craft for you to try with your kids.
While I have developed my own patterns, they are complicated for the novice. I want you to be successful! Sew…(pun intended :-)), I researched a great pattern and step-by-step tutorial for you, with a link below. The site is called Sew Doggy Style and they make it fun and insightful!
Once you’ve made your pattern, I’ll walk you through the rest of the project.
To Begin:
The first piece of advice I’d give you is to always read through the instructions completely to make sure you want to take on any project. Don’t try short cuts, because they do not guarantee good results. Haste makes waste.
What supplies will I need?
In dog fashion, it always starts with a good pattern. For this part of the project, all you’ll need are a few household items:
- a paper bag
- a pen
- a ruler
- scissors
- Oh, and a dog!
That’s it! As I’m sitting here sewing my heart out for my second New York Fashion Week runway show on February 14th, working only with a bag, pen, ruler and scissors sounds like a lot of fun! LOL!
Once your pattern is complete and you move on to working with your fabric, you’ll need:
- markers
- straight and safety pins
- velcro (choose a width of velcro that makes sense for the size of the dog. You also have the option to cut the velcro lengthwise, if it’s too wide)
- a sewing machine
How To Choose Your Fabric
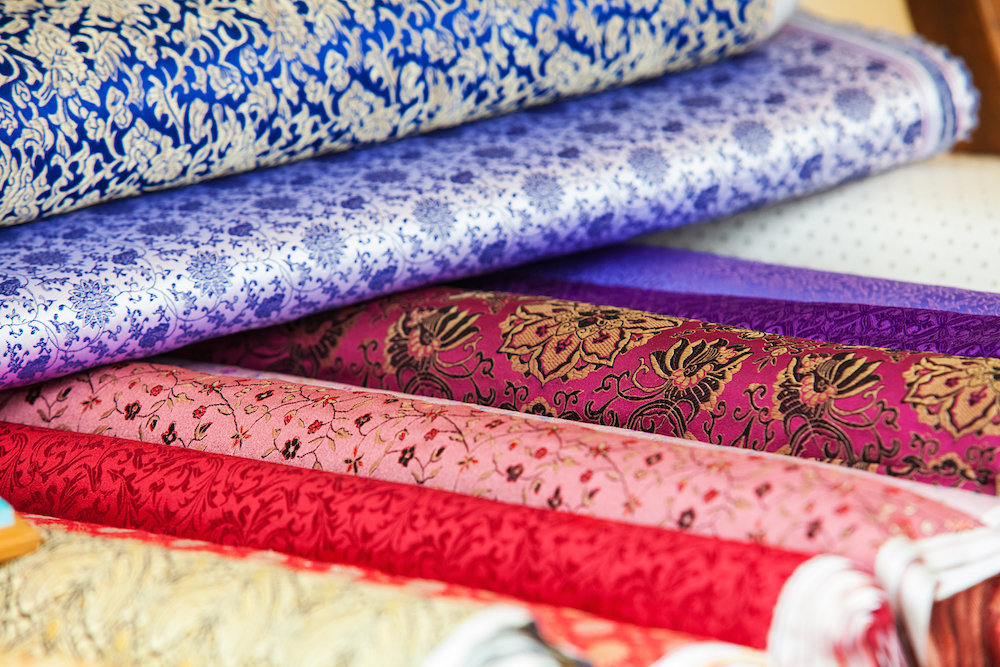
I love that, on the Sew Doggy Style site, they chose to recycle an old shirt. When training pets to feel secure, taste and scent are very important. By using a recycled shirt, the fabric will have your scent, and that will make your dog feel secure with what you put on him/her.
If you’re not going to do that, I’d recommend going to your local fabric store and seeking out remnants, which are usually on sale or discounted. This is your first project, so there’s no need to splurge until you have practiced and made a prototype.
Remember that this is for a dog. You’ll want to consider a sturdy, washable fabric, but choose something you love, so that each time you look at it, it makes you smile.
Making The Dog Coat Pattern
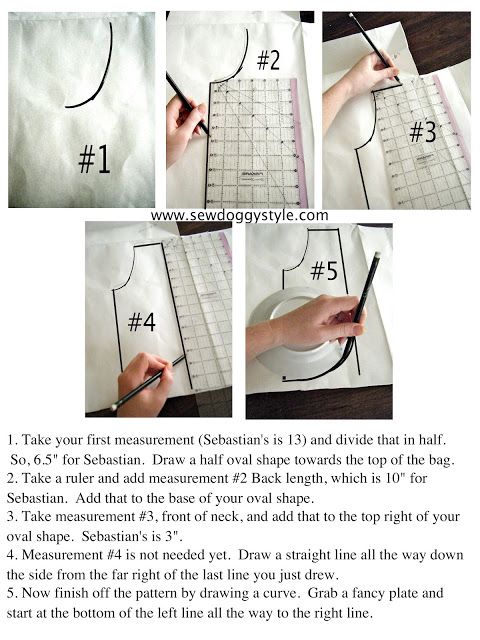
Here are the step by step instructions to make the dog coat pattern from Sew Doggy Style.
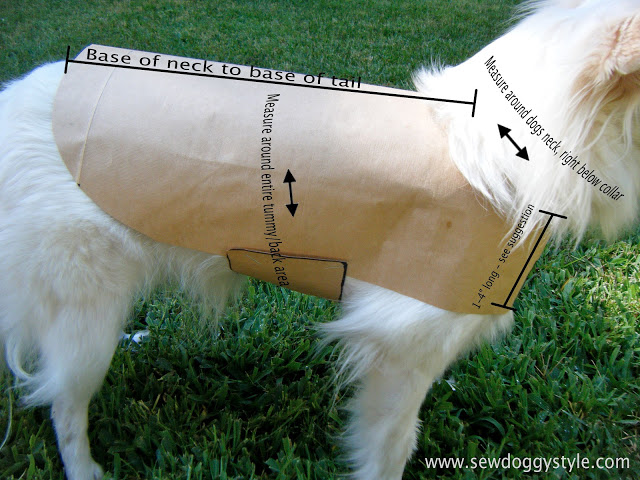
Measurement Instructions:
1. First measure around dog’s neck and add one inch (this is for the velcro). Sebastian is a 12, so 13 is good.
2. Measure along back from base of neck to base of tail. Sebastian is a 10.
3. Determine desired length of jacket in front of neck. 3″ long is perfect for Sebastian’s size.
4. Measure completely around mid-tummy/lower chest and back area. Sebastian is a 15.
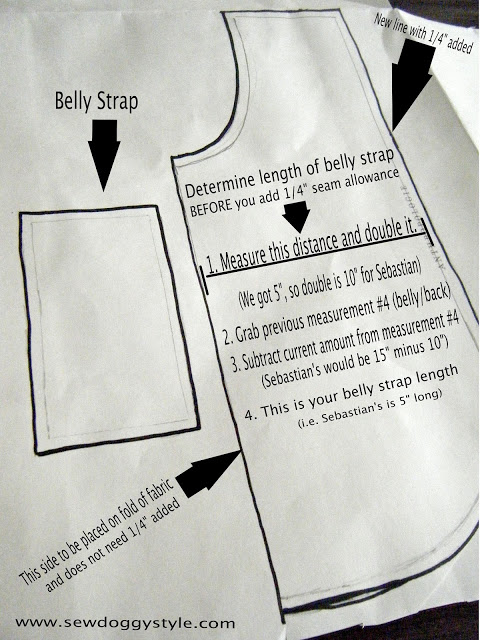
Belly Strap – This can be as thick or as thin as you want. We did ours at 2.5″ wide. To determine how long it should be, follow below photo instructions.
And after you get your belly strap piece drawn, we’ll be adding 1/4″ seam allowance around both pieces.
Now you are ready to cut out your pieces.
You’ll want to do a tester! You can use fabric or another paper bag for this.
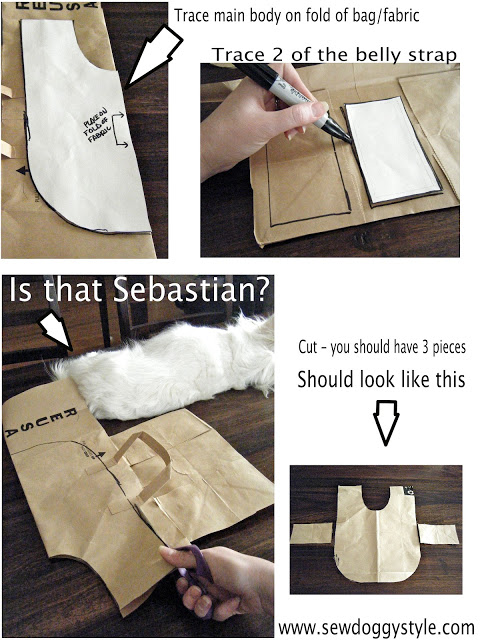
Staple belly straps (one on each side) of main body. This is a good time to determine where exactly you want the straps to go…i.e., more higher or lower under the belly depending on your dog. Belly straps will later have velcro and will overlap each other.
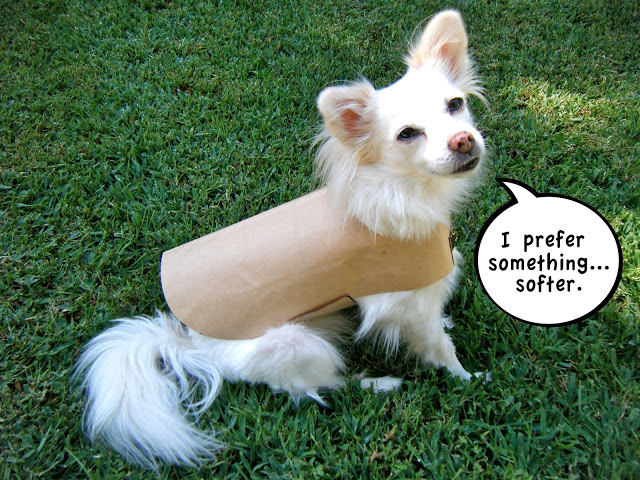
Then place the tester on your dog for a fitting. I used tape to temporarily hold the neck and belly together .
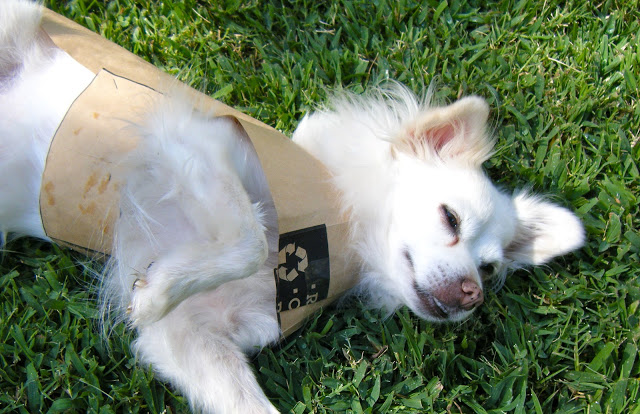
Sebastian laying down on the modeling job
Once Your Tester is Done
Now, it’s time to sew the pattern pieces together into your coat. You’ll need a sewing machine for this part. Here’s a step by step tutorial from Erika of Sew Doggy Style on how to put the pieces together.
Embellishments, anyone?
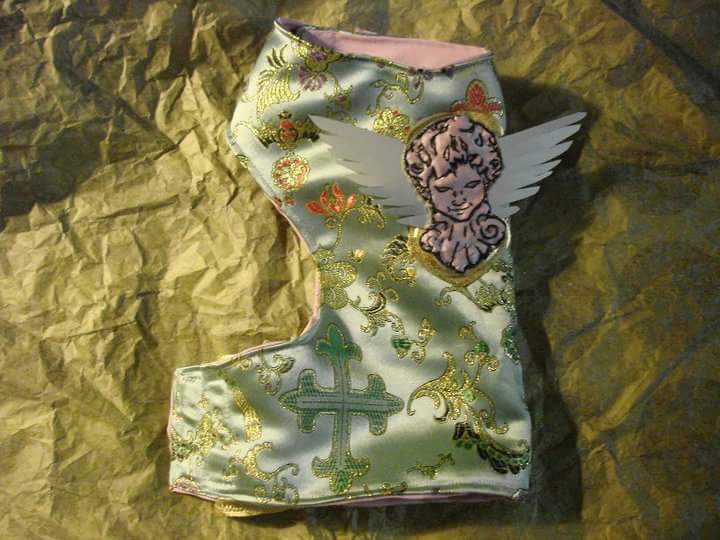
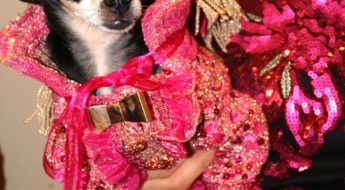
I love glamour! An Anthony Rubio past design.
If you know my fashion, you know embellishments are a big part of what I do. When it comes to decorating your finished coat, the sky is the limit! However, I do caution using any dangling or loosely attached decorations. Keep in mind that this is a living creature, and that curiosity may cause the dog to want to pick at, bite off or scratch off that decoration, which they can then chew and or swallow. You don’t want an emergency trip to the vet to be a part of this experience! I recommend appliqués, iron on or sew on patches, trims and well sewn on buttons. You can go crazy and have fun, creating themes like military, rock star, glamour!
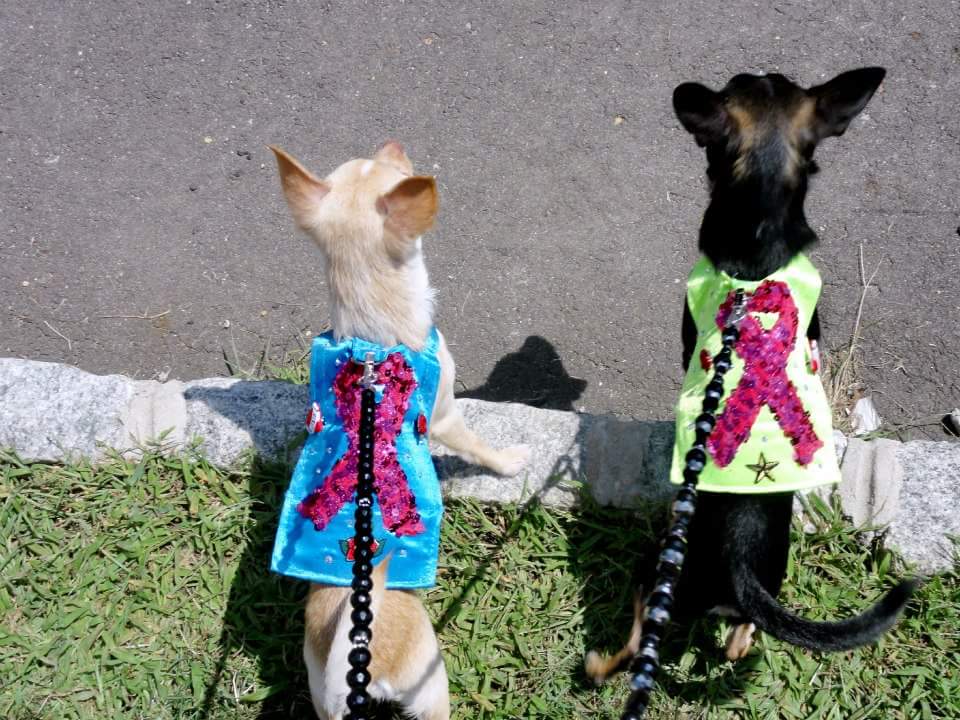
Sequins for a cause: Kimba & Bogie represent at the Susan B. Komen breast cancer fundraiser, Your Dog Is Worth it….For The Cure Foundation.
Remember, if it’s comfortable, the dog will proudly wear it. If you bombard the design with crazy items like bells or dangling effects, you might spook the dog and he/she may resist wearing your creation.
Follow Sew Doggy Style for more fun DIY projects for your dog!
Tune in next Thursday for the final week of Anthony Rubio’s Just My Style series, where he’ll give us a sneak peek into what’s coming next in the dog fashion world!


Thanks for the shoutout guys!! Great and fun site you’ve got here.
Xoxoxo,
Erika and Sebastian
Thanks so much, Erika! So glad you like! Really enjoyed yours, too!